Create an Infura API Key
QuantumAuth needs an Infura API key to connect to Ethereum networks. This guide walks you through Infura step by step — no developer experience required.
Requirements
- A free Infura account
- Access to your email inbox
Steps
Follow these steps to create your account and copy your API key. During QuantumAuth client setup, you’ll paste the key when prompted.
Create a free account and verify your email
Go to Infura and create a free account. Use an email address you can access right now.
Activate your account using the email link
Open the verification email and click the activation link. Some email apps may flag this as suspicious — that’s normal. Just ensure it’s from Infura.
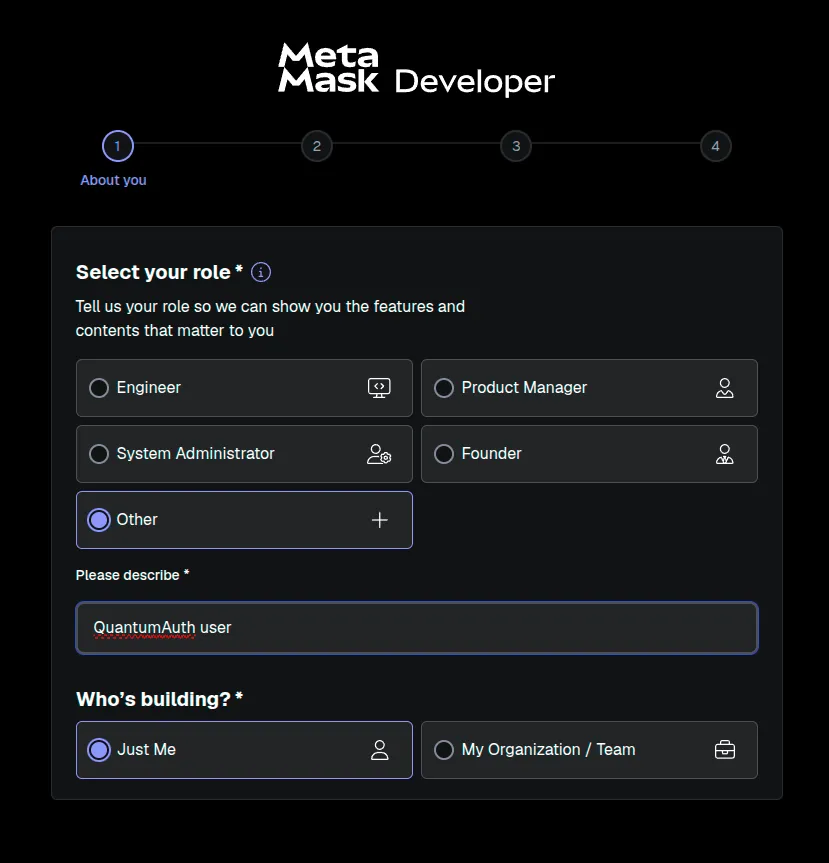
Choose your role
When asked for your role, we suggest selecting “Other”. If another option fits you better, feel free to choose it.
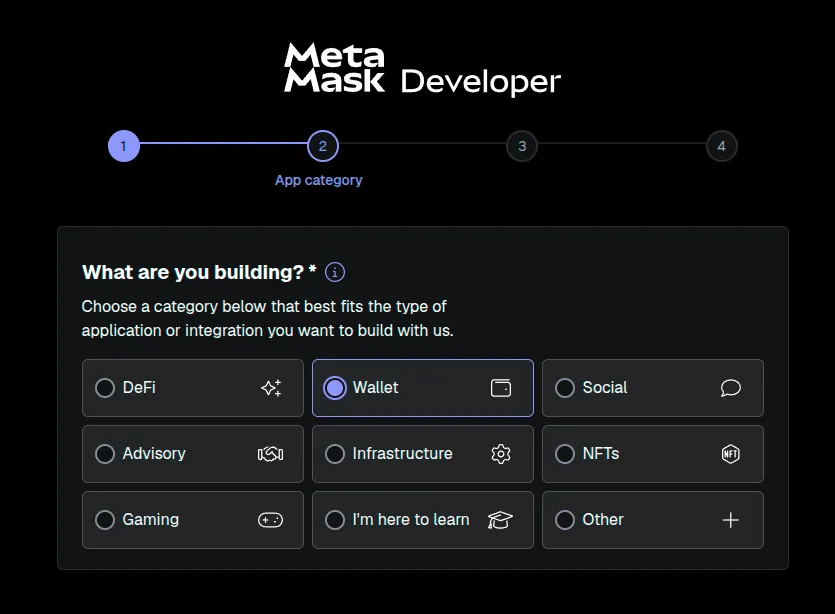
What are you building?
Select “Wallet”. This matches the setup QuantumAuth needs.
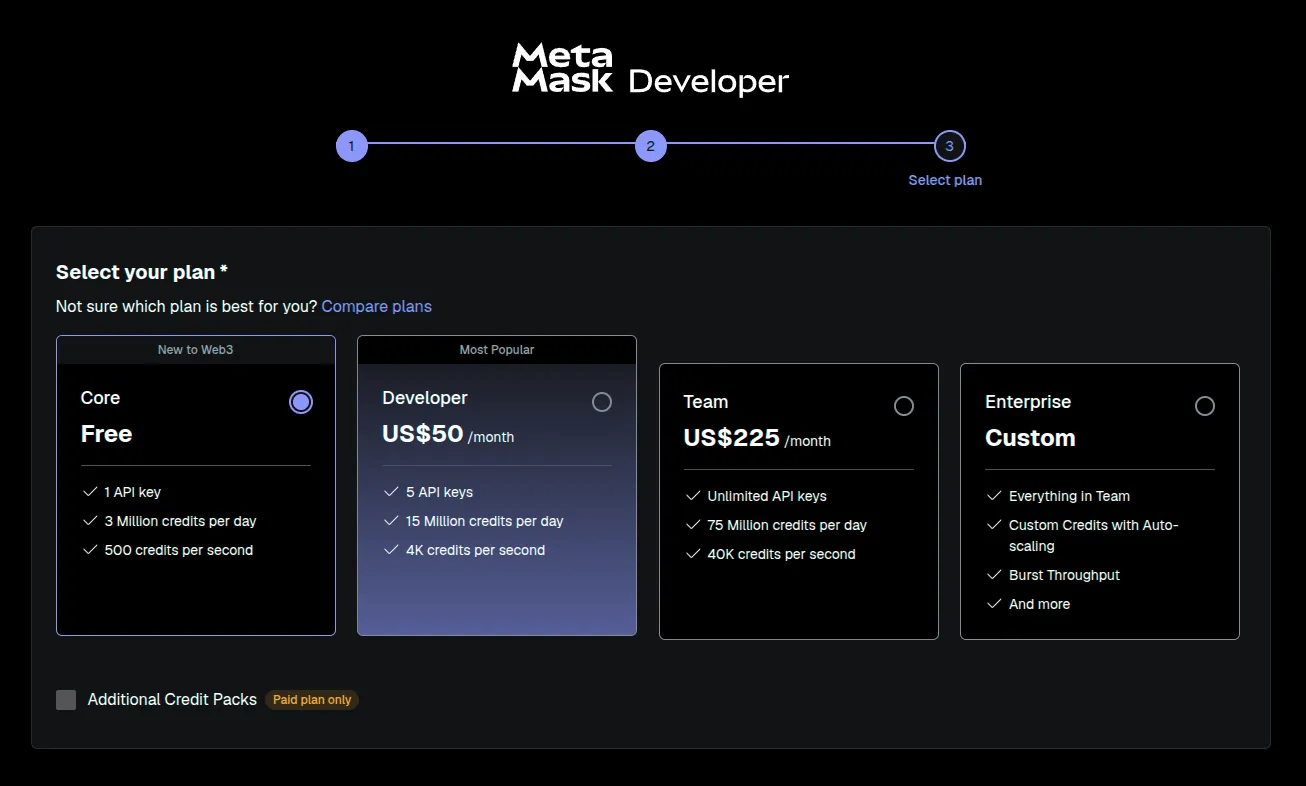
Select a plan
For personal use, the Free plan is enough. If you have an institutional or enterprise role, QuantumAuth provides the necessary access as part of the license package — you don’t need to buy a plan here.
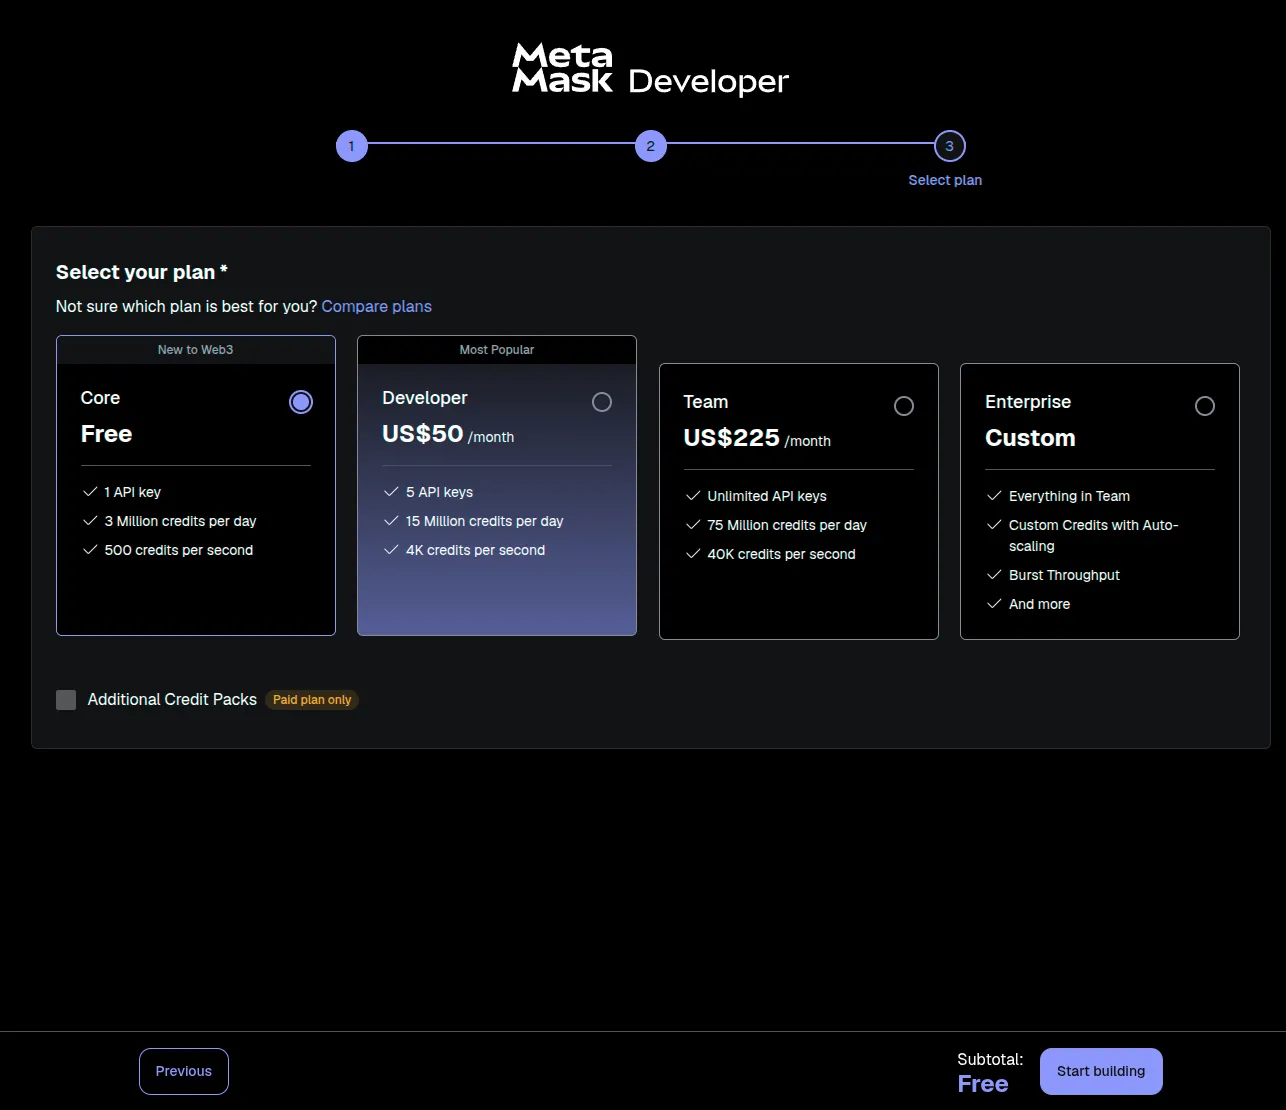
Start building
On the final onboarding screen, click the “Start building” button (bottom-right).
Copy your API key from the dashboard
Once you land on the dashboard, you can either create a new key or simply copy the default key that Infura creates for you (often named “My First Key”).

Notes
- Keep your API key private. Don’t share it publicly or post screenshots that include the key.
- During QuantumAuth Client installation, you’ll paste the API key when prompted.