First-time Setup and Pairing
Start the QuantumAuth Client, complete the first-time setup, then pair your browser extension.
Setup steps
Follow these steps once. After pairing, the extension will reconnect automatically whenever the client is running.
Start the client
Open a terminal and run the QuantumAuth client:
quantumauthChoose the setup mode
For first-time setup, type 1. If you want to add a device to an existing account, type 2.

Enter your account and device information
Follow the prompts in the terminal. Use a strong password (minimum 8 characters).
Email: you@example.comUsername (press Enter to use the email alias):Device label (name this device):Password (min 8 characters):Infura API key:Open the setup link
Once the client processes your identity, creates TPM-sealed keys, and registers your user, it will print a link. Hold Ctrl and click the link to open it in your browser. This link expires shortly, so use it right away.

Generate a pairing key
In the browser UI, generate a pairing key and copy it.

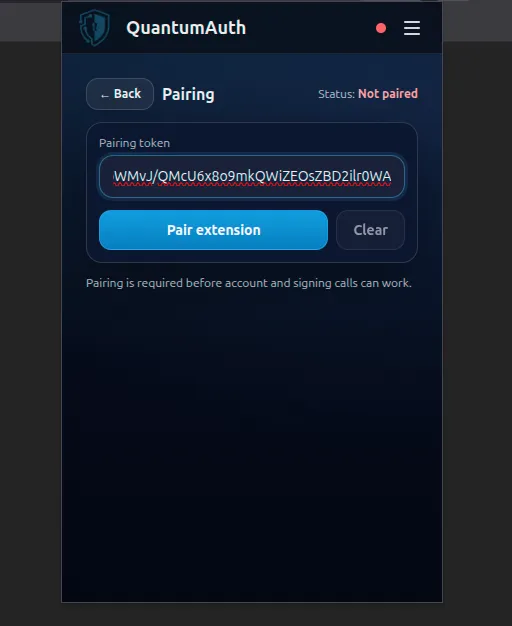
Pair the browser extension
Open the extension. From the hamburger menu, go to Settings → Pairing, paste the pairing key, then click Pair. You can clear pairing later if needed.
Done
You’ve completed setup. Keep the client running while using the extension.